No drill, no deposit
No-Drill Closet Ideas That Actually Hold
Six renter-safe ways to add storage without touching a drill — with the honest failure mode of each one.
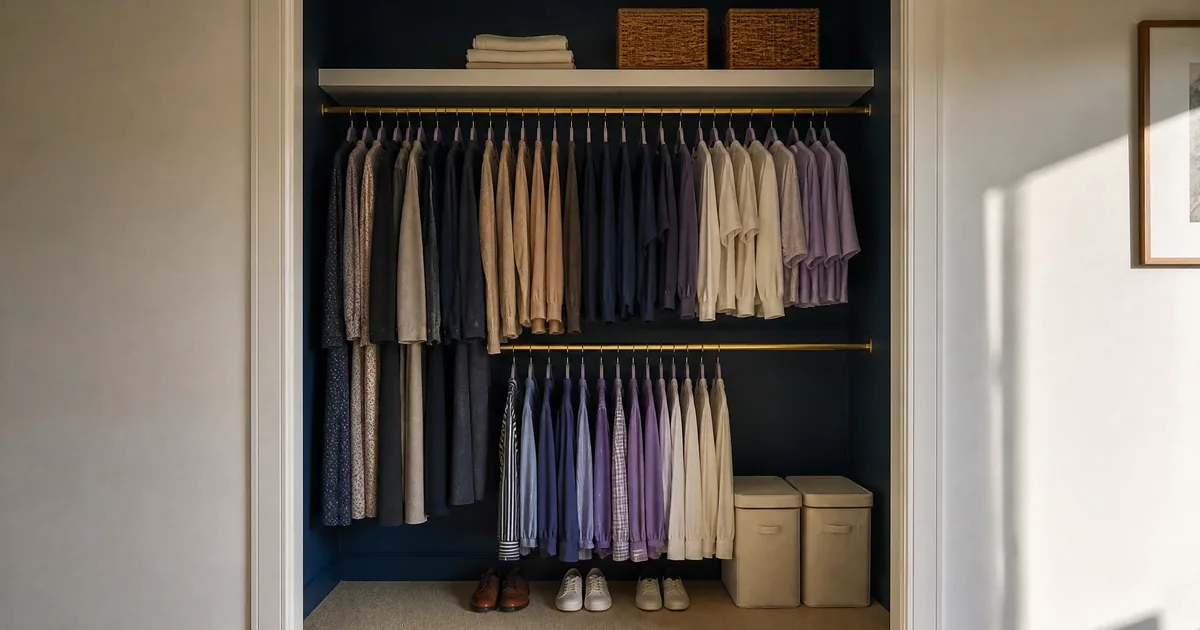
The constraint that shapes everything
A rental closet has three limits: no holes, no repainting, and a deposit that comes back only if the place looks untouched on inspection day. Every idea below is judged against those three, not against how good it looks in a photograph.
The good news is that most of the storage a small closet is missing comes from the vertical dimension, and vertical storage can be held up by tension, by an existing door, or by the floor. Very little of it needs a wall.
1. A tension rod under the existing rod
The classic no-drill upgrade: a second rod fitted lower down, turning one tall hanging space into two short ones. It works when the closet has two opposing surfaces that are roughly parallel and the clothes below are short — shirts, skirts, folded-over trousers.
It fails in three predictable ways. Glossy or greasy paint gives the rubber feet nothing to grip. Walls that bow mean the rod only touches at one point. And the rod bows under weight, so a rail of winter coats will sag in the middle by the end of the month.
Test it before you load it: fit the rod, hang six shirts, and come back in an hour. If the feet have crept, take it down. The double hanging guide walks through the measurement properly.
2. An over-the-door organiser
The closet door is a free vertical wall that nobody counts. A fabric pocket organiser, a shoe bag or a set of over-door hooks all use it, and all of them come off in seconds.
Two limits. The door has to be a hinged door with a gap above it — sliding doors are out, and a door with a tight frame will not close with a hook over it. And the door has to still close, which sounds obvious until you have filled every pocket.
3. Adhesive hooks and strips
Modern adhesive strips hold more than people expect, on the right surface. The right surface is smooth, clean, dry and painted properly. The wrong surface is textured wallpaper, fresh emulsion, tile grout, or anything above a radiator.
The failure mode to plan for is removal, not weight. A strip that has been up for two years will take a patch of paint with it. Warm it gently with a hairdryer and pull the tab slowly down the wall rather than out from it, and keep a small pot of matching paint if you can find out the colour.
4. Stackable bins and a shelf you already have
Most rented closets have one shelf above the rod and nothing else. That shelf is usually too deep and too high, which makes it a place where things go to be forgotten. Bins fix half of that: you pull one down, you can see everything in it, and you put it back.
Buy bins that fit the shelf depth, not the shelf width. A bin that overhangs the front edge will tip every time you pull it, and a bin you can carry with one hand is a bin you will actually use.
5. Freestanding frames and leaning shelves
When the closet has nothing to push against, the floor is still available. A slim freestanding frame, a leaning ladder shelf or a small tilt-out shoe cabinet all sit on the floor and lean or press against a wall without a fixing.
Keep tall freestanding furniture against a wall, and if the manufacturer supplies an anti-tip bracket, use it. That bracket is a safety device, and on a tall wardrobe it is not optional.
6. A curtain instead of a door
If the closet has no door at all — common in studios where the door was removed years ago — a tension rod across the opening plus a pair of curtains hides the contents and keeps dust off. It also removes the door-swing problem entirely.
The catch is that a tension rod across a wide opening needs a much stronger hold than one inside a closet, and the fabric adds weight. Check that the two side walls are solid before you hang anything on it.
The twenty-minute no-drill reset
If you only do one thing from this page, do this:
- Clear the rod completely and put everything on the bed.
- Bin every wire hanger. This costs nothing and is the fastest space you will ever gain.
- Measure the drop, and decide whether a lower rod is possible.
- Put back only what you wore this fortnight, grouped by length.
- Put the rest in bins on the shelf, not on the floor.
That is it. No purchases, no holes, no conversation with a landlord.
What not to try
A few things that look like no-drill solutions and are not:
- Suspending a rod from the ceiling with adhesive hooks. The load is wrong and the failure is sudden.
- A tension rod loaded with coats. Tension holds a small load well and a large load badly.
- Command strips on a painted door in a bathroom or kitchen. Steam defeats them.
- Anything that blocks a fire exit. Including a shoe rack in the hallway of a shared building.
Where to go next
The closet types guide explains which of these ideas suits which closet shape. If the closet is full rather than badly arranged, the 30-day declutter plan is the cheaper first move. And if you want the folding method in the panel below, that is here too — it is the only storage trick on this page that costs nothing at all.
The method, in five steps
- Measure the gaps before you buy anything Write down the closet width at shelf height, the width at floor height and the rod-to-floor drop. Walls are rarely parallel, so measure at both ends; a tension rod only works if the two surfaces face each other.
- Clear the rod and test its fixings Take everything off the rod and press down on it with your hand. If the brackets move, the rod cannot take a second bar, a heavy coat or a hanging organiser, and no amount of clever hardware will change that.
- Add the vertical layer first A tension rod set lower than the existing one, or an over-door organiser on the closet door, adds storage without touching a wall. Both come out in a minute on moving day.
- Add hooks and adhesive only to sound paint Clean the surface, let it dry completely, and press the strip for the full time the packet says. Skip textured walls, fresh paint and anything above head height that could fall.
- Finish with a freestanding layer A slim shoe cabinet, a leaning shelf or a stack of lidded bins takes the overflow that hooks cannot. Keep tall furniture against a wall and fix it to the wall if the manufacturer supplies a bracket.
The storage trick that costs nothing
Folding is the only intervention on this page with no purchase and no fixing. Three moves, and the stack stops collapsing when you pull the bottom shirt out.
The three-move fold
- Lay it face down Buttons and prints underneath, sleeves out flat, collar at the top.
- Fold both sides to the middle Sleeve in, then the side panel over it, so the edges meet at the spine.
- Fold the bottom up, then stack One fold, tucked under, standing on its folded edge so you can read the stack.
empty shelf
Drag a side in, or tap Fold next.
Tap the left panel, the right panel, then the bottom.