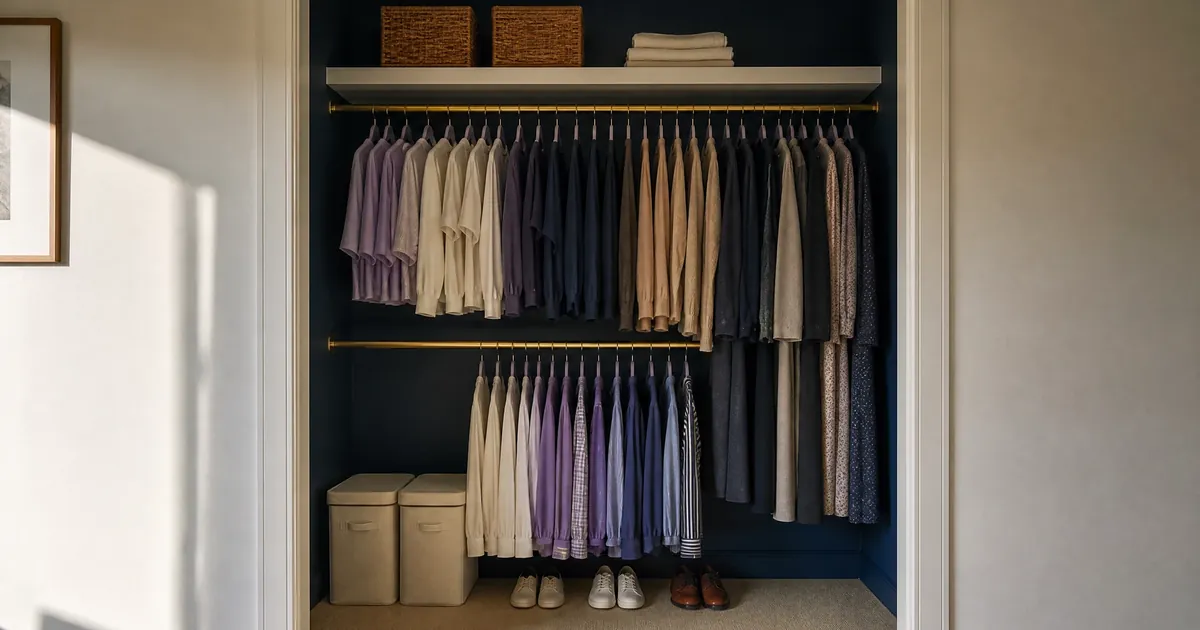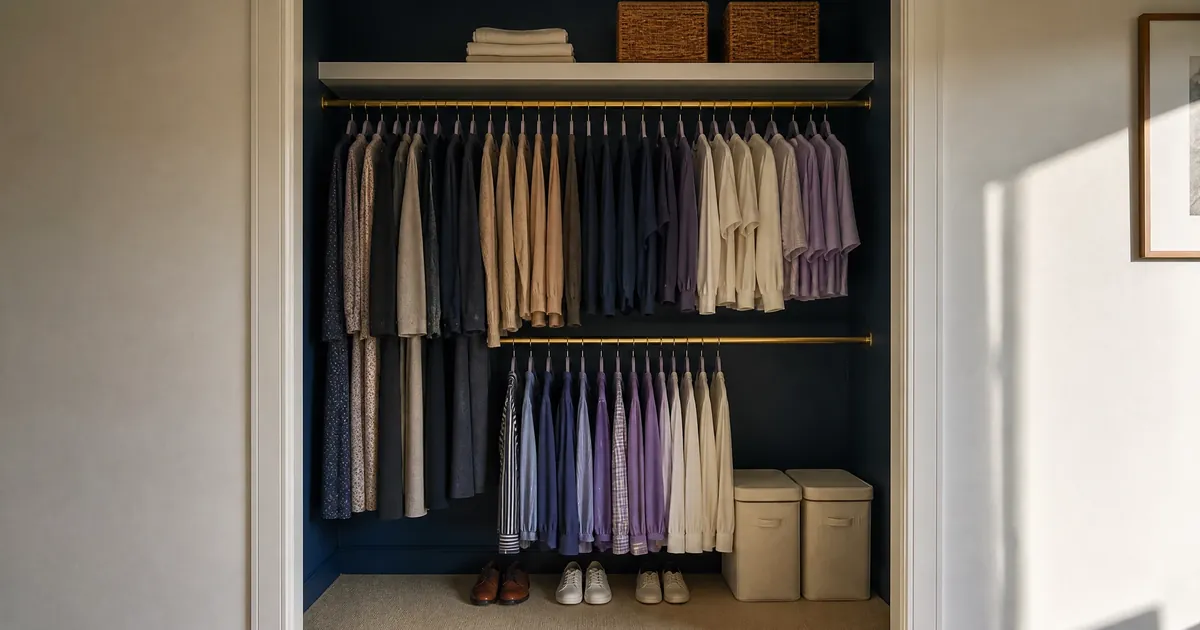
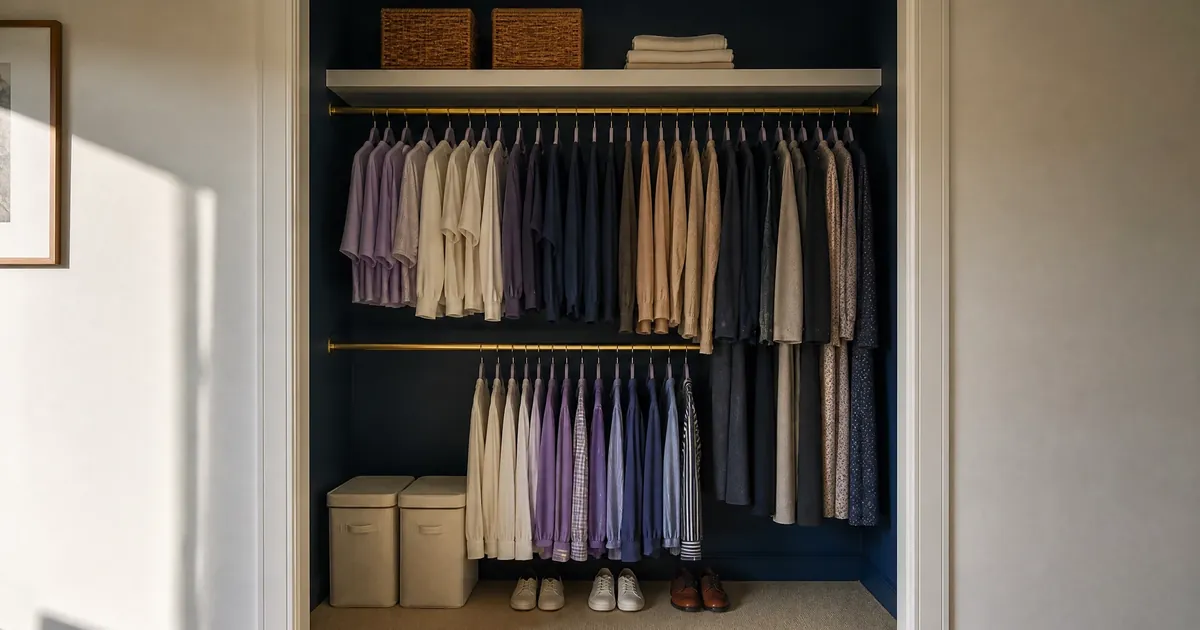
One rod, one row of hangers. That is the deal your closet came with, and it is why half your clothes live on the chair.
Doubling the hanging space is arithmetic rather than a gadget. You take the height between the rod and the floor and split it into two shorter drops. A shirt is short. A coat is not. The honest version doubles one half of the closet and leaves the other half alone.
Everything below works without a drill and comes out again on move-out day. Start with the tape measure, because the measurement picks the method.
Measure the drop before you buy anything
Two numbers decide this project: the distance from the rod down to the floor, and from the rod up to the shelf above.
The lower rod needs a short drop, enough for a shirt on a hanger. Measure from the hook to the hem, or use your forearm plus a hand as the test. Trousers folded over the bar need about the same, though a pair hung full length from the waistband needs the long drop. If the short distance is not there, shirts puddle on the floor and you are back to one rod by the weekend.
The top half matters too. Whatever hangs on the original rod needs clearance to slide along. If the rod sits a hand’s width under a shelf, the top rail is already tight, and a second rod only moves the traffic jam down a level.
Then the long stuff. Dresses, long coats and jumpsuits need the full height, from rod to somewhere near your ankle. If you own more than a couple, pick the half of the closet where they live and call that half finished. Nothing you can buy without a drill makes a dress short.
So the answer has a shape: find the section that holds only shirts, skirts and folded trousers, and double that. A wide closet splits left and right. A narrow one gets a short second rod on the shirt side and nothing on the other.
A tension rod under the existing rod
The quickest version, and the one most people try first: a spring-loaded tension rod wedged between the closet’s side walls, a forearm below the original rod.
It works, and it fails in two specific ways.
The first is the surface. A tension rod holds by friction, so it needs grip. Glossy paint is slick. Kitchen grease, hairspray and years of air freshener leave a film that is worse. Wipe both contact points with a damp cloth and a drop of dish soap, let them dry, then fit the rod with a firm outward push. On papered walls, check the paper is stuck down where the foot sits, or the rod will peel it back.
The second is bowing. A tension rod is a spring inside a tube, and a long tube with weight in the middle sags. Shirts, yes. A rail of winter coats, no. Keep the span as short as the closet allows. The same rod is far stronger across a narrow section than the full width.
Test it before you trust it. Hang four or five shirts near the middle, then press down on the center the way a heavy coat would. Listen for a creak, watch both feet, check the rod is still level. Add weight gradually over the next week, because a rod that is going to slip usually says so early.
Hanging a second rod from the first
This one suspends instead of wedging. Two rod straps or S-hooks loop over the existing rod and hold a second rod below it, touching no walls. It works where side walls are unusable: a wardrobe with thin panels, a nook with a door frame on one side, a closet where a tension rod already slipped.
The catch: every ounce on the new rod now hangs from the old one. A second rail roughly doubles the load and puts a bending force through the middle that the brackets never expected, so look at the fixings before you hang anything.
A rod in two solid brackets screwed into a shelf support or a stud will usually take a second rail of shirts. A thin wooden dowel in open cup sockets will sag and may pop out. Two brackets spread wide beat three bunched together. If the rod flexes when you pull down with one hand, it is already working hard with nothing on it.
Before you add a second rail, pull down on the existing rod and watch the brackets. Any movement, any creak, any gap between bracket and shelf means stop. The rod is at its limit, and the second rail’s weight is what will finish it.
The straps have a second flaw: they swing, so pulling a sweater off the lower rail shoves the whole thing back. Fit them near the brackets rather than the middle, keep the lower rod light, and tighten the hooks after the first week.
A freestanding double-rail frame
When the closet has nothing to push against, stop attaching to it. A freestanding frame stands on the floor: two uprights, two rails, and either a flat base or a lean against the wall behind.
It suits wardrobes with bowed sides, alcoves with a door frame on one side, and anyone whose closet is really a recess with no return walls.
Two things decide whether it fits. Depth first: hangers need room to swing, so compare the closet’s depth with your widest hanger plus your knuckles. A frame pushed into a shallow reach-in will hold clothes and refuse to let the door close. Then footprint: a tall frame on a narrow base tips, especially with a coat rail up high, so put the heavier rail low or rest the frame against a wall.
Inside a deep closet, the frame gives you two rails at a height you choose rather than the height the builder chose. In a shallow one, it belongs in the room beside the closet; the wardrobe guide covers that version properly.
Clip hangers and multi-tier hangers
A third route adds no rod at all, only hangers that hold more than one garment.
The clip hanger trick is the useful half. Take a hanger with two clips, clip one pair of trousers by the waistband on the left, a second pair on the right, and let the legs hang. Two pairs now occupy one hanger’s width. Skirts work the same way, and a skirt plus its matching top is the closest thing to a free lunch in this article. Multi-tier hangers go further: four or five bars on one hook, each holding a pair of trousers, stacked like a ladder.
Both tricks trade rail space for depth and patience. A five-bar hanger needs the depth and clearance of five pairs of trousers, so it suits a deep closet or an empty corner, and it hides the bottom bars. Clothes you cannot see are clothes you stop wearing. The clip points also mark a soft weave, and trousers folded over a thin bar for a month crease where the bar sits.
That is where the trick becomes a wrinkled mess: linen, wide-leg trousers, anything with a pressed front, anything still damp from the wash. Keep clip hangers for denim, cotton twill and skirts whose waistband will not show a pinch.
What not to double up
Coats stay on the original rod. They are the heaviest thing in the closet, they need shoulder room so the collar does not fold, and they are why a second rod bows. Same for suit bags, anything wet, and anything whose hem would reach the lower rail.
Watch the things that are heavy without looking it: a rail of denim, a bundle of winter scarves on one hanger, a bag with a chain strap. If you would not hang it from a curtain rail, keep it off the lower rod. When coats are the real problem, rotating them out for the season beats another rail.
What this costs you in time on move-out day
Most of this project is reversible, and the reversing is quick. A tension rod comes out in under a minute: push one end, lift, done. Hooks and straps come off in the time it takes to unhook a coat. A freestanding frame walks out with the clothes still on it. Clip hangers leave nothing behind.
The marks are the part to watch. Clean rubber feet still leave a gray smudge on matte paint after a year of pressure, and soft plaster can take a small dent where a foot sat. Both are easier to deal with the day you notice them than the day you move out, so check the contact points monthly and shift the rod a finger’s width along the wall if a mark is starting.
The real risk is the quiet one. A rod carrying twice its intended load rarely fails on installation day. It fails on a Tuesday, taking a bracket and a plug of shelf with it, and that is a hole. A hole is a conversation with a landlord, which is why the fixing check comes before the loading.
Which option suits which closet
The short version, to take to the store:
- Solid side walls, a shirt-heavy rail, no coats nearby: tension rod.
- No usable side walls, or a rod that has slipped once: hooks or straps, if the brackets are sound.
- Thin panels, bowed sides, a recess with no returns: freestanding frame, in the room if the closet is shallow.
- Almost no spare height, or a wardrobe you cannot touch: clip and multi-tier hangers, and accept the creases.
- Long dresses, or a coat collection: double one half and leave the other alone.
If you are unsure which shape you have, start with the reach-in closet guide and the no-drill ideas page. Then measure, because the tape measure picks the method.
The whole project, in 5 steps
- Measure both drops and pick the shirt half Measure from the existing rod to the floor, then from the rod to the shelf above. A shirt needs a forearm plus a hand of drop; dresses and coats need the full height. Double only the section that holds shirts, skirts and folded trousers.
- Fit and test a tension rod Wipe both side walls clean and let them dry, then wedge the rod a forearm below the original one with a firm outward push. Hang four or five shirts in the middle, press down on the center, and watch the feet for movement before adding more.
- Hang a second rod from the first with straps Loop two straps or S-hooks over the existing rod, close to the brackets rather than the middle, and hang a second rod from them. Check the rod is level, load it with shirts only, and tighten the hooks again after the first week.
- Set up a freestanding frame when walls are unusable Measure the closet depth against your widest hanger plus your knuckles, because the frame has to let clothes swing and the door close. Build it on the floor, put the heavier rail low, and keep the base wide enough not to tip.
- Load the lower rod with light garments only Move shirts, skirts and folded trousers down, and leave coats, dresses, suit bags and anything long on the original rod. Spread the weight along the rail instead of bunching it in the middle, and check both rods for sag once a month.
Questions that come up
Will a tension rod hold a full rail of clothes?
Only a light one. A short span of shirts is fine, but a full-width rod loaded with coats will bow or slip. Test it with a few garments first and keep the heavy things on the original rod.
How do I know whether a second rod will fit?
Measure from the existing rod to the floor and to the shelf above. You need two short drops stacked, roughly a forearm plus a hand each. If the space gives you one short drop and one long one, double the shirt half only.
Does hanging a rod from the existing rod damage the closet?
It doubles the load on the original rod and its brackets, which is where the risk sits. If the rod flexes when you pull on it, or a bracket moves, use a tension rod or a freestanding frame instead.
Can I double up coats and long dresses?
No. Coats are the heaviest and bulkiest things on the rail, and long dresses need the full drop. Both stay on the original rod, while the lower rod takes shirts, skirts and folded trousers.
Do multi-tier hangers really create more space?
They save rail width, not depth or weight. Five pairs of trousers on one hook still weigh five pairs of trousers, and the lower bars are easy to forget. They suit denim and cotton more than linen or a pressed crease.